- Home
- Your Boats
- This Page
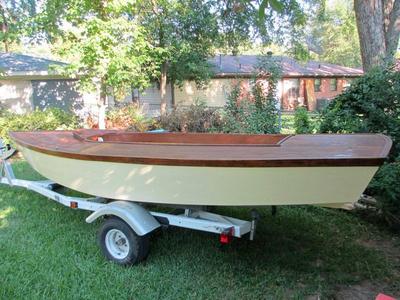
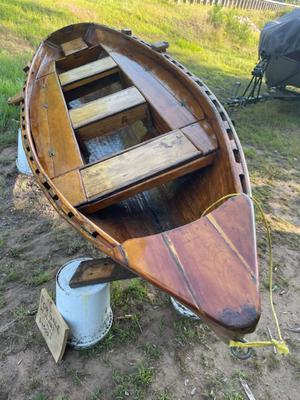
Jewel a 16' Crescent Sail-boat
by Mike Allen
(Longview, TX)


|

|

|

|
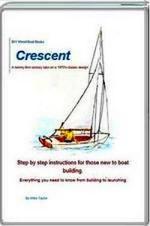
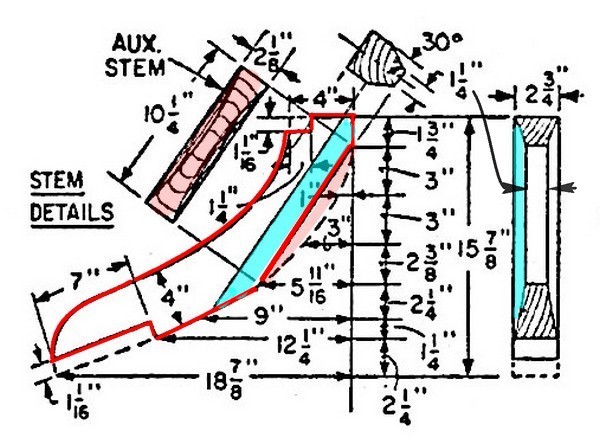
Step by step instructions for building Crescent using modern plywood building techniques and materials.
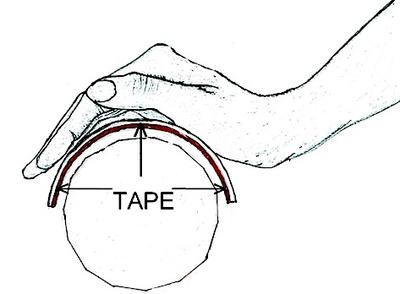
Well over the weekend I got "Jewel" taped and papered and did my finish sanding.
Vacuumed the hull of all dust then blew everything off and vacuumed again.
Using gray primer and got the edges done and started the rest of the hull.
Oh my it looks terrible !!
Not the primer the hull!
Now back to rough sanding the imperfections, out with the filler and we will see how it looks at the end of the week, and then the second coat of primer will be done and hopefully very fine sanding to be ready for the first of the finish coat.
Wish me luck and patience.
Comments for Jewel a 16' Crescent Sail-boat
|
||
|
||
|
||
|
||
|
||
|
||
|
||
|
||
|
||
|
||
|
||
|
||
|
||
|
||
|
||
Want to add more photos?
Photo Uploader
If you are having problems uploading Photos or would like to add more click on this link for the Upload Form.


You might like these
Your Wooden Project Boats by Proud Wooden Boat Lovers.
A showcase for Your Wooden Project Boats.
Readers Tips for Your Wood Boat.
Readers Tips advice on how to maintain and improve your Wooden Boat and save time and money
Boats and Bits Free Advertising.
The Boats and Bits Free advertising space to sell, buy or exchange Wooden Boats, Boat Bits


This work is licensed under a Creative Commons Attribution-ShareAlike 2.0 UK: England & Wales License.
I am perfectly aware that the majority of Wooden Boat aficionados are sensible folk.
However, I need to point out that I am an amateur wooden boat enthusiast simply writing in order to try to help other amateur wooden boat enthusiasts.
And while I take every care to ensure that the information in DIY Wood Boat.com is correct, anyone acting on the information on this website does so at their own risk.