C-boat rib separation.

by Paul
(Chippewa Falls, WI)

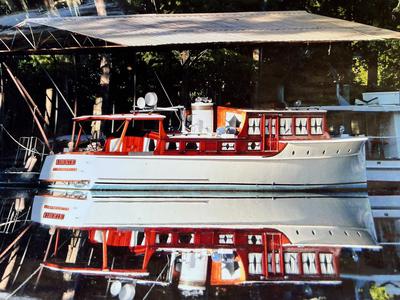
I have a 1967 Melges c-scow.

It measures 20 f.

I have done quite a bit of work repairing cracks and gouges in the bottom as well as the now end where deck and bottom p ok making meet.

I have applied 2 coats of deck paint.

Also applied 2 coats of spar varnish to the bottom as I have left the cedar planking natural.

My problem is I have discovered the planking had separated from the center beam due to dry rot midship for 4-6 ft.

There is a gap of 1” in center and less on either ends.

If I remove some of the bad material and fill in gap area with new, to fill in the void the length of the area I feel that will support the bottom.

I should be able to use 2 part epoxy to install the filler.

I can deal with old ribs after this.

Do you think I’m on the right track?

I have repaired several other weaker area's by gluing and screwing sister ribs.

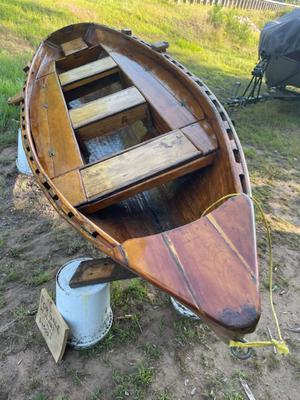
I’ll try to include some photos as well.

Comments for C-boat rib separation.

Click here to add your own comments

Jun 11, 2024
C Scow
by: Mike

Hello Paul,

It sounds like you've already done substantial work on your 1967 Melges C-Scow, and your approach to addressing the separation of the planking from the center beam shows a good understanding of wooden boat repair. Here's an evaluation of your plan and some additional suggestions:

1. **Removing Damaged Material**:
- You’re correct in thinking that the first step should be to remove all the rotted wood before proceeding further. Make sure to meticulously clear out all weakened material, as leaving any behind could compromise the repair.

2. **Using Epoxy for Filling**:
- Using a two-part epoxy to fill the gap created by the removed rotten wood is a solid choice. Epoxy is strong, adheres well to wood, and is water-resistant, making it suitable for marine environments. Ensure that the area is dry and free of debris or loose particles before applying the epoxy.

3. **Creating a Supportive Filler**:
- Depending on the width and depth of the gap, you might need to use a combination of epoxy and a solid filler like marine-grade plywood or a piece of cedar cut to fit the void. Using just epoxy alone may not provide enough structural support over a larger gap, especially one that is 4-6 feet long.

4. **Applying Epoxy and Filler**:
- If you decide to use wood as a filler, size the piece to fit slightly smaller than the gap to allow room for the epoxy. Apply the epoxy to both the gap and the filler piece to ensure a strong bond. Clamping the filler in place until the epoxy cures will help maintain alignment and bond strength.

5. **Addressing the Old Ribs**:
- After fixing the gap, paying attention to the old ribs is crucial. Since you have experience reinforcing ribs by adding sister ribs, continuing this process will help strengthen the overall structure of the boat.

6. **Finishing and Sealing**:
- After the structural repairs are complete, focus on sealing and finishing the repaired area to match the rest of the boat. Additional coats of varnish or another appropriate sealant over the whole bottom will provide uniformity and additional protection against water.

7. **Inspection and Testing**:
- Once all repairs and finishing touches have been applied, a thorough inspection and careful testing in a controlled water environment are recommended to ensure that all repairs hold and the boat performs well.

You seem to be on the right track with your planned approach. Your willingness to tackle these substantial repairs and the detail in your procedures indicate a good level of skill and understanding of boat restoration. Just make sure that any new material used (wood or epoxy) blends well with the existing structure both physically and aesthetically to maintain the integrity and appearance of your boat. Good luck with your restoration project!

Click here to add your own comments

Join in and write your own page! It's easy to do. How? Simply click here to return to Questions and Answers Forum.

Want to add more photos?

Photo Uploader

If you are having problems uploading Photos or would like to add more click on this link for the Upload Form.

Show / Hide